
Uncategorized
LiftMaster Garage Door Opener Troubleshooting
Oct
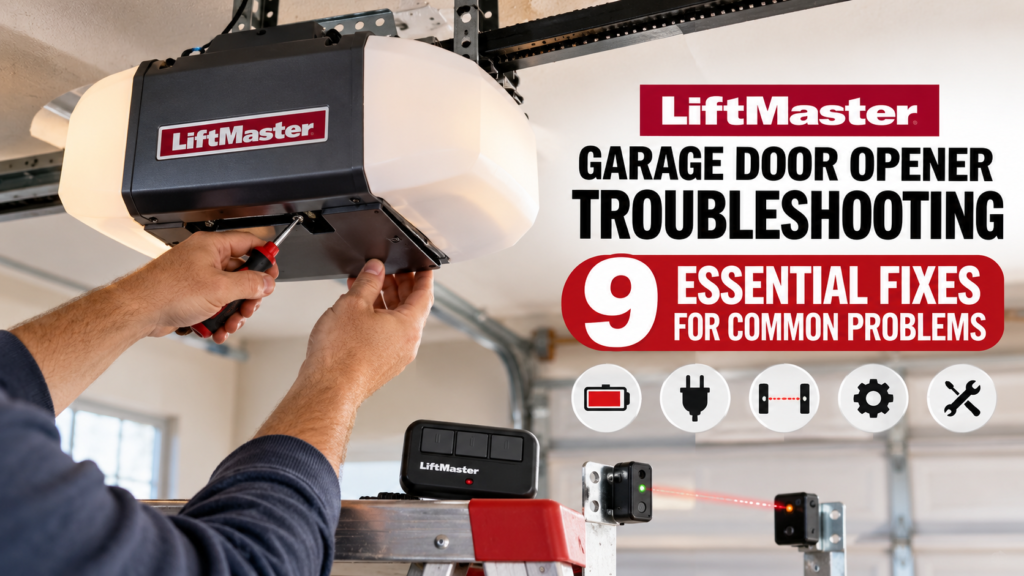
LiftMaster Garage Door Opener Troubleshooting: 9 Essential Fixes for Common Problems
When a LiftMaster opener stops behaving normally, the problem is not always the opener motor itself. LiftMaster garage door opener troubleshooting should begin with the symptoms you can actually observe. Does the opener respond to the wall control? Does the remote work? Does the garage door open but refuse to close? Does it reverse? Does the motor make a sound without moving the door?
These details matter because different symptoms can point toward different areas of the garage door system. During LiftMaster garage door opener troubleshooting, a homeowner may discover that the actual issue is a remote battery, blocked safety sensor, obstruction, door problem, power issue, or another component rather than the opener motor itself.
This guide explains a practical approach to LiftMaster garage door opener troubleshooting. You will learn what to inspect first, how to evaluate common symptoms, when safety sensors deserve attention, how to think about replacement parts, and when professional service is the safer option.
Important: LiftMaster opener models can differ in controls, diagnostic indicators, travel systems, drive systems, and compatible components. Always verify model-specific instructions before making adjustments or ordering replacement parts.
Table of Contents
- LiftMaster Garage Door Opener Troubleshooting Basics
- 9 Essential Checks to Start With
- Check the Remote and Wall Control
- Check Power
- Check the Safety Sensors
- Check for Obstructions
- Check the Garage Door
- Check Door Travel and Reversal
- Investigate Unusual Noise
- Check Diagnostic Information
- When a Replacement Part May Be Needed
- Garage Door Openers and Opener Parts
- Preventive Maintenance
- Safety Considerations
- Related Articles
- Frequently Asked Questions
- Conclusion
LiftMaster Garage Door Opener Troubleshooting Basics
Effective LiftMaster garage door opener troubleshooting is a process of elimination. Rather than immediately replacing a motor, circuit board, sensor, or other component, begin by identifying exactly what the system is doing.
Ask a few basic questions. Does the opener have power? Does the wall control respond? Does the remote operate the system? Does the motor make a sound? Does the door begin moving? Does it stop at a particular point? Does it reverse?
These observations help narrow the possible causes. A remote that does not operate the opener while the wall control works may point toward the remote, battery, programming, or related control system. A door that opens but refuses to close may require attention to the safety sensors or another condition detected by the opener.
For this reason, LiftMaster garage door opener troubleshooting should begin with observation rather than guesswork.
9 Essential Checks to Start With
Use these checks as a general starting point for LiftMaster garage door opener troubleshooting. The exact repair procedure depends on the opener model and the condition of the garage door.
- Check whether the opener has power.
- Test the wall control if one is installed.
- Check the remote battery.
- Inspect the safety sensors.
- Look for an obstruction in the door’s path.
- Observe the garage door’s physical movement.
- Identify where the door stops or reverses.
- Listen for unusual sounds.
- Check the model-specific diagnostic information.
These checks can help distinguish a simple control issue from a safety-system, mechanical, or opener-component problem. They also help prevent unnecessary replacement of parts that may still be working correctly.
Check the Remote and Wall Control
One of the first steps in LiftMaster garage door opener troubleshooting is determining whether the problem affects every control method or only one.
Start by testing the wall control if your installation has one. If the wall control operates the opener but the remote does not, investigate the remote before assuming that the motor or main opener assembly has failed.
Check the Remote Battery
A depleted battery can prevent a remote from communicating with the opener. Replace the battery with the type specified for the particular remote.
If the remote remains unresponsive after a battery replacement, additional diagnosis may be necessary. Avoid assuming that a nonworking remote means the entire opener must be replaced.
Compare Control Symptoms
If both the wall control and remote fail to operate the opener, the problem may be somewhere beyond the remote itself. Continue with the power, sensor, and diagnostic checks as part of your LiftMaster garage door opener troubleshooting process.
Check Power
An opener that shows no response should first be evaluated for a possible power-related condition.
Check whether the opener appears to have power and whether the relevant electrical supply is functioning normally. Where appropriate, check the household breaker or external power conditions using safe procedures.
Do not open electrical enclosures or work on energized wiring unless you are qualified to perform that work.
If the opener repeatedly loses power, trips a breaker, shows signs of electrical damage, or produces unusual electrical symptoms, professional electrical or garage-door service may be appropriate.
Power should be considered early in LiftMaster garage door opener troubleshooting because an opener cannot respond normally when its required electrical supply is interrupted.
Check the Safety Sensors
Safety sensors deserve particular attention when the opener operates but the garage door refuses to close or reverses unexpectedly. This is an important part of LiftMaster garage door opener troubleshooting.
LiftMaster safety systems use photoelectric sensors to help detect conditions in the door’s path. The sensors must be correctly installed and aligned for the system to operate as intended.
Begin with a visual inspection.
- Check for objects blocking the sensor path.
- Look for dirt or debris on the sensor lenses.
- Check whether either sensor has been knocked out of position.
- Observe the sensor indicator lights.
- Inspect accessible sensor wiring for obvious damage.
When performing LiftMaster garage door opener troubleshooting, do not assume that every closing problem is caused by the motor. The safety system should be considered whenever the opener behaves differently during closing.
Never bypass or disable the safety sensors to make the garage door operate. If the safety system is not functioning correctly, identify and correct the underlying problem or obtain professional service.
Check for Obstructions
An obstruction can affect both the garage door and the opener, making this another useful step in LiftMaster garage door opener troubleshooting.
Inspect the area around the door and its travel path. Look for stored items, tools, debris, or other objects that could interfere with movement.
Do not force the door through an obstruction. Remove only objects that can be safely removed without touching springs, cables, electrical components, or other hazardous parts.
A blocked path can create symptoms that appear to be an opener problem, so this simple inspection should be part of the initial troubleshooting process.
Check the Garage Door
The garage door itself may be responsible for an opener symptom. A good LiftMaster garage door opener troubleshooting process therefore considers the door as well as the opener.
Observe the door while it operates. Does it move smoothly? Does it appear uneven? Does one side rise differently from the other? Does it drag, bind, shake, or become unusually heavy?
LiftMaster identifies broken springs, track alignment, lubrication, and door-path obstructions among possible reasons an opener may not work properly.
A garage door that is mechanically damaged should not be forced to operate through repeated opener cycles.
Important: The opener is designed to operate a garage door system; it is not a substitute for repairing a damaged or improperly balanced door.
Check Door Travel and Reversal
Pay close attention to where the door stops during LiftMaster garage door opener troubleshooting.
If the door begins opening but stops early, note the position where it stops. If it closes and then reverses, observe exactly when the reversal happens.
Travel and force settings differ by opener model. Do not apply a generic adjustment procedure without confirming that it applies to the exact LiftMaster model.
Recording the precise behavior can be more useful than immediately changing settings. This information can also help a technician identify the problem if professional service becomes necessary.
Investigate Unusual Noise
A new or unusual sound can provide a valuable clue during LiftMaster garage door opener troubleshooting.
Listen for grinding, rattling, clicking, squealing, or other sounds that were not present during normal operation.
Try to determine whether the sound is coming from the opener, rail or drive system, or garage door hardware.
LiftMaster’s maintenance guidance notes lubrication and track-related conditions among possible causes of opener problems.
Do not remove covers or disassemble internal components simply to investigate a noise unless you are qualified to do so.
Check Diagnostic Information
Many LiftMaster openers provide diagnostic information through indicator lights or other signals. This can be especially useful when ordinary LiftMaster garage door opener troubleshooting does not immediately identify the cause.
The meaning of a particular flash pattern depends on the model, so avoid interpreting a diagnostic signal using a generic chart from a different opener.
Record the exact signal and compare it with the owner’s manual or manufacturer documentation for the opener.
Diagnostic information can help narrow down the problem without replacing components unnecessarily.
For manufacturer information, the official LiftMaster repair and maintenance resource explains several common causes and when professional assistance may be appropriate.
When a Replacement Part May Be Needed
Once troubleshooting identifies a likely failed component, a replacement part may be appropriate. However, LiftMaster garage door opener troubleshooting should identify the likely cause before a replacement is selected.
Depending on the opener, replacement categories can include safety sensors, wall controls, remotes, circuit boards, drive components, motors, limit components, and other model-specific parts.
LiftMaster’s official replacement-parts catalog includes categories such as logic boards, gear kits, safety reversing sensors, belt kits, chain kits, motors and electrical components, and limit switch kits.
However, the existence of a part does not automatically establish compatibility with your opener.
Before ordering: Verify the exact opener model, part number, manufacturer information, and compatibility. If compatibility is uncertain, verify compatibility with your exact opener model before ordering.
Garage Door Openers and Opener Parts
After completing the initial LiftMaster garage door opener troubleshooting, determine whether the appropriate solution is a compatible replacement component or a complete opener.
Garage Door Openers
For complete opener systems, visit Garage Door Openers at Garage Door Operator Direct.
Review the opener’s application, specifications, installation requirements, and compatibility information before ordering.
Garage Door Opener Parts
If the existing opener remains suitable and only a component needs replacement, browse Garage Door Opener Parts.
Always verify the exact model and replacement-part compatibility before ordering.
Preventive Maintenance
Preventive maintenance can help identify changes in opener and door behavior before a minor problem becomes a larger repair. It can also make future LiftMaster garage door opener troubleshooting easier because you are more likely to notice when the system’s behavior changes.
Keep the safety-sensor area clear and clean. Pay attention to changes in door movement, unusual noises, and inconsistent opener behavior.
Follow the manufacturer’s instructions for lubrication and maintenance. Do not apply lubricant to components unless the manufacturer recommends it.
Watch for changes such as increased noise, uneven movement, hesitation, or unusual reversing.
If the door becomes unusually heavy or difficult to move, the problem may involve the door system rather than the opener alone.
Safety Considerations
Garage door systems combine heavy moving components, electrical equipment, and safety devices. Troubleshooting should therefore be limited to procedures that can be performed safely.
- Do not bypass safety sensors.
- Do not disable safety features to make the door operate.
- Do not work on energized electrical components unless qualified.
- Do not attempt high-tension spring or cable repairs without appropriate training and equipment.
- Keep people and objects clear of the door’s moving path.
- Use the exact manufacturer’s instructions for model-specific adjustments.
During LiftMaster garage door opener troubleshooting, safety should take priority over getting the opener running quickly.
The U.S. Consumer Product Safety Commission states that automatic residential garage door operators must comply with a mandatory federal consumer product safety standard, 16 CFR Part 1211. See the official CPSC Automatic Residential Garage Door Operators guidance for additional information.
LiftMaster also provides safety information and recommends professional assistance when troubleshooting does not resolve an opener problem.
Related Articles
Continue building your garage door opener troubleshooting knowledge with these related articles in the cluster:
- LiftMaster Garage Door Opener Not Working
- Garage Door Sensor Cleaning
- Garage Door Sensor Not Working
- Garage Door Sensor Wiring Diagram
- Chamberlain LiftMaster Garage Door Opener Troubleshooting
These links use the planned URLs for the related articles we are building in this cluster. As each article is published, the corresponding internal link will connect the pages directly.
Frequently Asked Questions
1. What should I check first during LiftMaster garage door opener troubleshooting?
Start with the simplest conditions: power, wall control, remote battery, safety sensors, and obstructions. Then observe the door’s movement and check model-specific diagnostic information.
2. Why does my LiftMaster opener work but the garage door will not close?
A safety-sensor condition, obstruction, wiring issue, or another model-specific diagnostic condition may prevent normal closing. Inspect the sensor path and indicator lights before making adjustments.
3. Why does my LiftMaster garage door opener reverse?
Reversing can have several possible causes, including safety-system conditions, obstructions, travel-related conditions, or a mechanical issue with the garage door. Identify exactly when the reversal occurs before changing settings.
4. Can a dead remote battery make my LiftMaster opener appear broken?
Yes. A depleted remote battery can prevent the remote from operating the opener even when the opener itself is functioning. Test the wall control if available to help isolate the problem.
5. How can I tell if the safety sensors are causing the problem?
Check for obstructions, dirt, misalignment, abnormal indicator lights, or visible wiring damage. Because sensor behavior varies by model, compare the condition with the manufacturer’s instructions.
6. Should I replace the entire opener if one component fails?
Not necessarily. Some opener problems can involve replaceable components such as sensors, controls, circuit boards, drive components, or other model-specific parts. Identify the cause and verify compatibility before replacing the complete opener.
7. Can I bypass the safety sensors while troubleshooting?
No. Required safety sensors should not be bypassed or disabled. A malfunctioning safety system should be diagnosed and corrected according to the manufacturer’s instructions.
8. When should I call a professional for a LiftMaster opener problem?
Professional assistance is appropriate when the problem involves springs, cables, dangerous mechanical components, internal electrical work, significant door damage, or a condition that cannot be safely diagnosed using the manufacturer’s instructions.
Conclusion
LiftMaster garage door opener troubleshooting is easier when you diagnose the symptom before replacing parts. Start with power and controls, then inspect the safety sensors, door path, garage door condition, travel behavior, unusual sounds, and diagnostic information.
Not every opener problem means the entire system needs replacement. A compatible component may solve the problem when the opener itself remains suitable. The important step is to identify the actual cause and verify the correct replacement part.
Before ordering any component, confirm the exact opener model and compatibility information.
For complete opener systems, browse Garage Door Openers. For replacement components, browse Garage Door Opener Parts.
